Freezer Green Smoothies

I used to make green smoothies for breakfast at least three times a week. Needless to say that when my baby was born (over a year ago now!), this is one of the things that slipped.

Now, that wasn’t such a big deal, as I was still eating (reasonably) well. But come Christmas, we were given so much chocolate. So, for the rest of December (and most of January, too), I’ve been snacking on Chocolate non stop. My sweet tooth has come back with a vengeance! Some mornings, I even grab chocolate from the fridge for breakfast (gasp)!

As I was browsing Pinterest the other day, I came across this blog post from Hello Glow, about making a months worth of green smoothies and storing the ingredients in zip lock bags in the freezer.

So I decided to give it a go. Here’s my spin on it:

Freezer Green Smoothies

Ingredients (per bag)

  • 1-2 cups of spinach or cos lettuce
  • 1/2 a zucchini
  • 1 stalk of celery
  • 1 banana or 1/2 a mango
  • 1/2 cup berries (I used a combination of strawberries, blueberries and frozen boysenberries)
  • 1 cm knob ginger
  • 1 cm knob turmeric

Method

  1. Fill your bags (I used 10) starting with the greens, then the fruit.
  2. Close your bags, squeezing as much air out as possible, and making the bags as flat as possible too.
  3. Stack your bags in the freezer.

DSC02348

Blending time

  1. Take one zip lock bag out of the freezer, and allow it to thaw for 5-10 minutes on the bench.
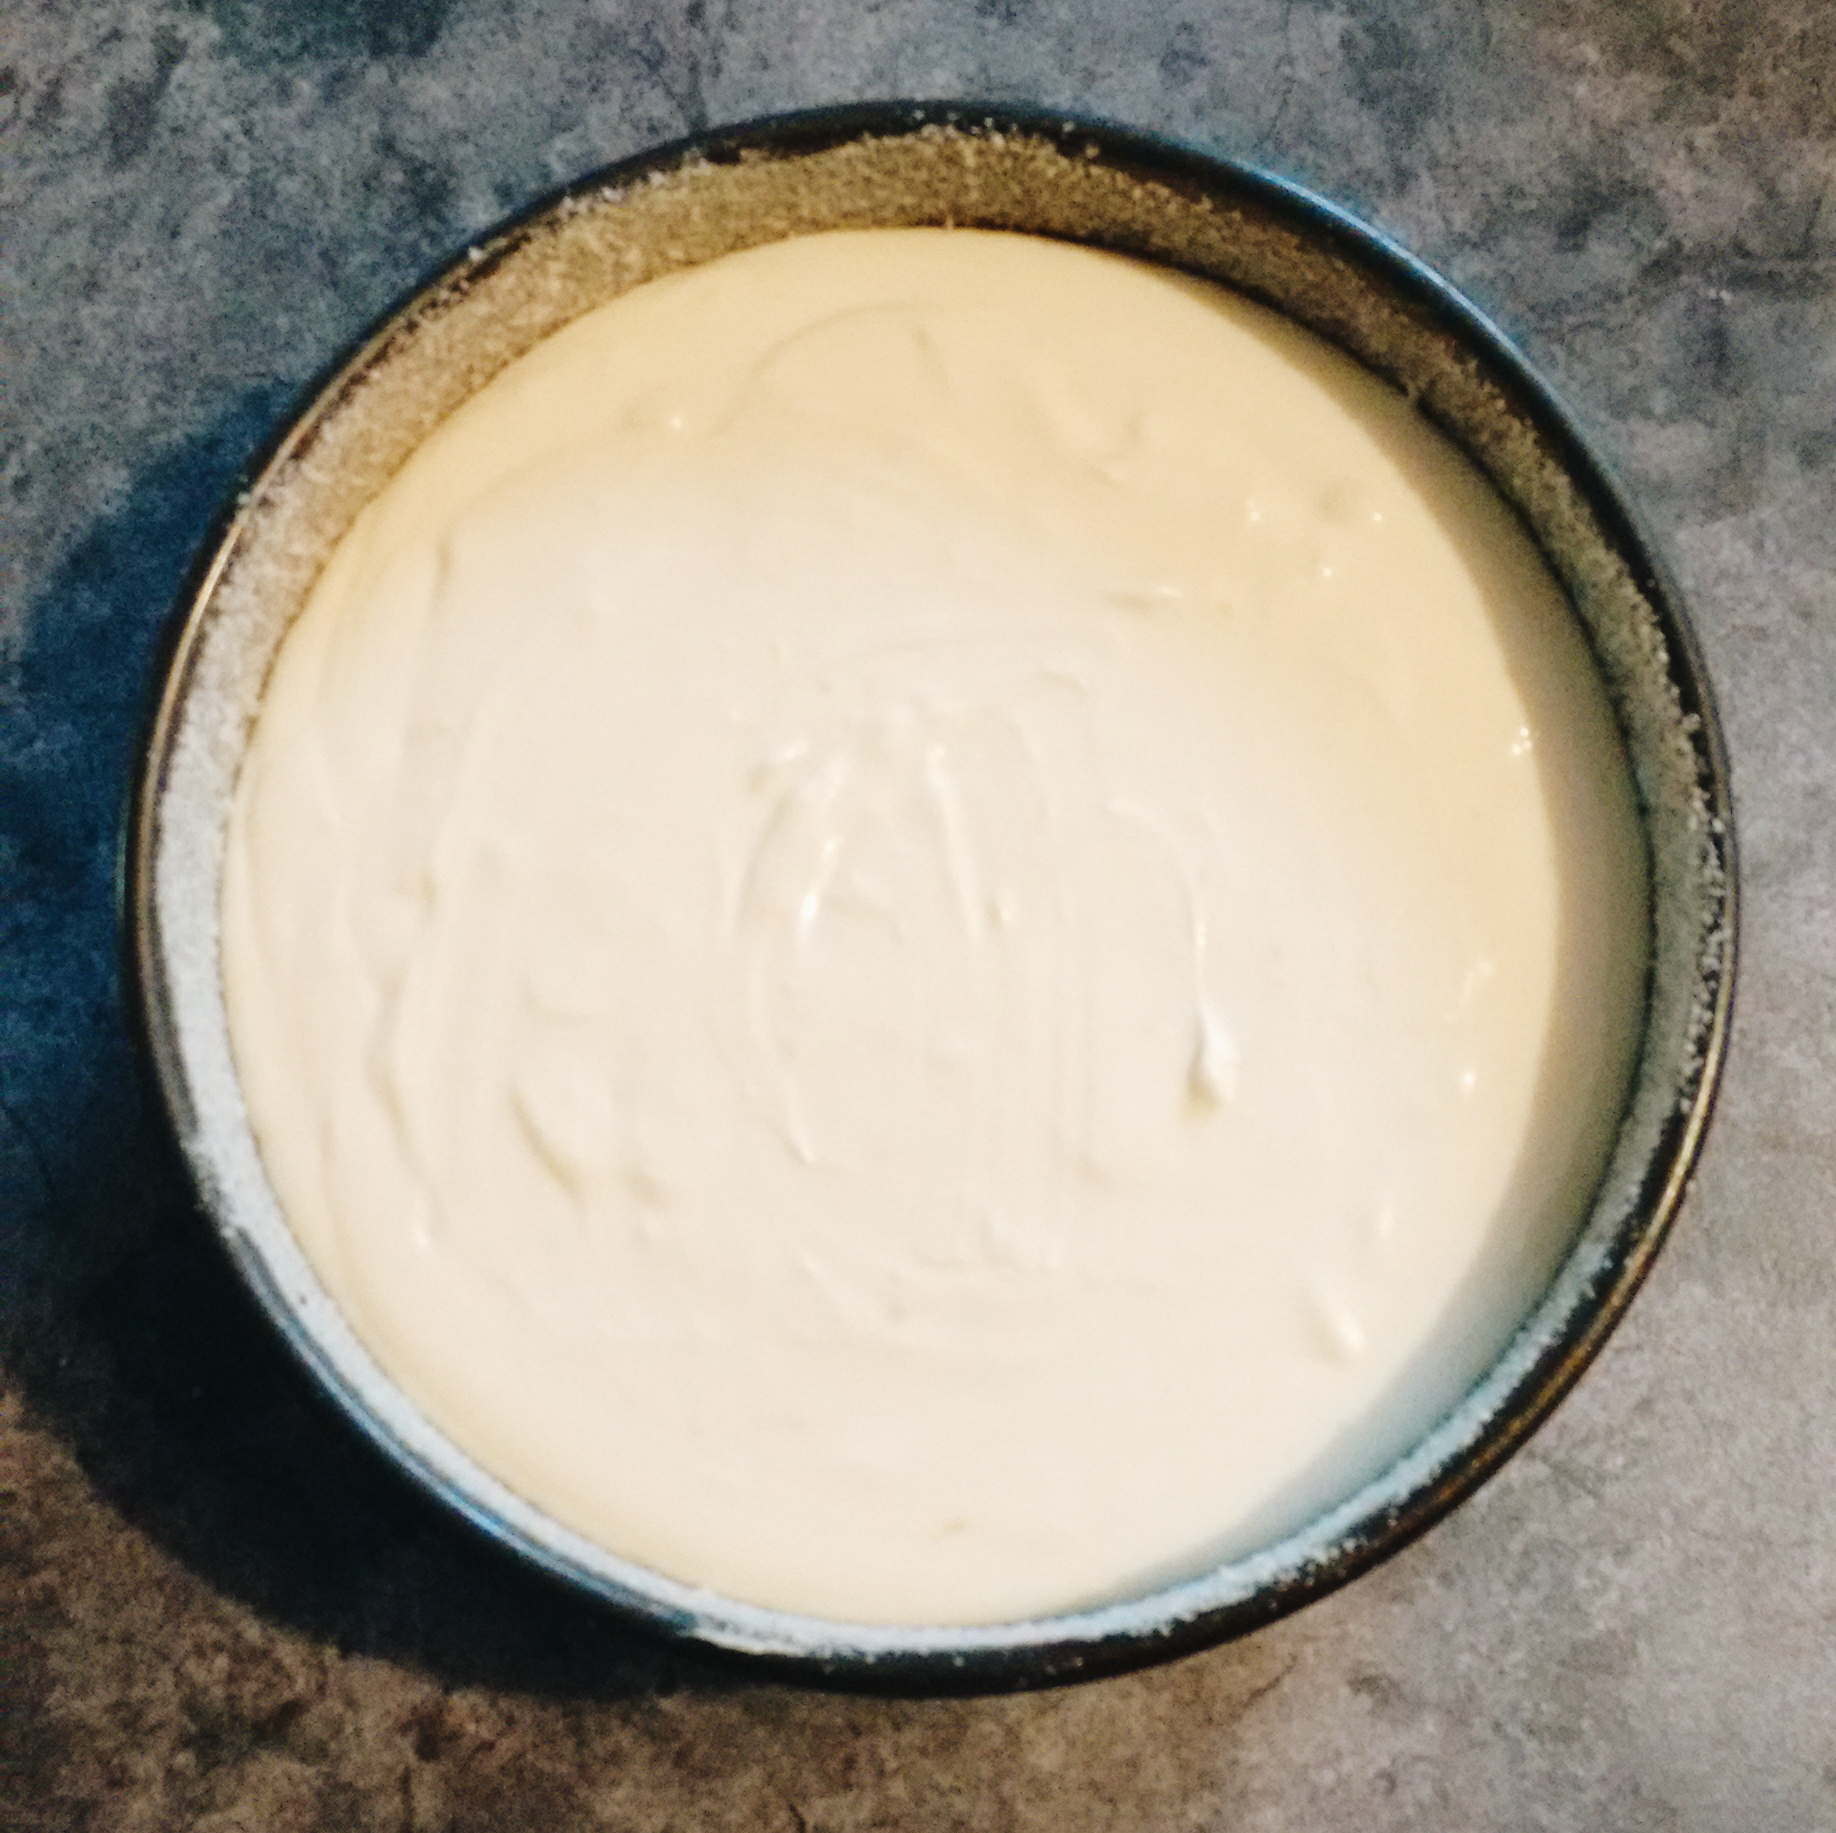
  2. Add contents of bag, along with about a cup of liquid to your blender. I added half greek yoghurt and half water.
  3. Add any extras you like. This morning I added 1/2 cup of oats and 2 tablespoons of chia seeds I’d soaked for 10 minutes, as well a teaspoon of cinnamon.
  4. Blend until smooth!

DSC02350

Here’s what my smoothie looked like this morning. Not green at all! And it made enough for two glasses this size.

Some would prefer their smoothies sweeter, so if this is you, add more fruit. I prefer them not so sweet, as I’m trying hard to break my sugar addiction.

DSC02353

Chopping fruit and veg in the mornings is what used to put me off making smoothies. But because all the fruit and veg were chopped and ready in the freezer, it really was so quick and easy to make. And it took me maybe one hour yesterday to wash, chop and bag the ingredients.

I’m back on the bandwagon.

DSC02352

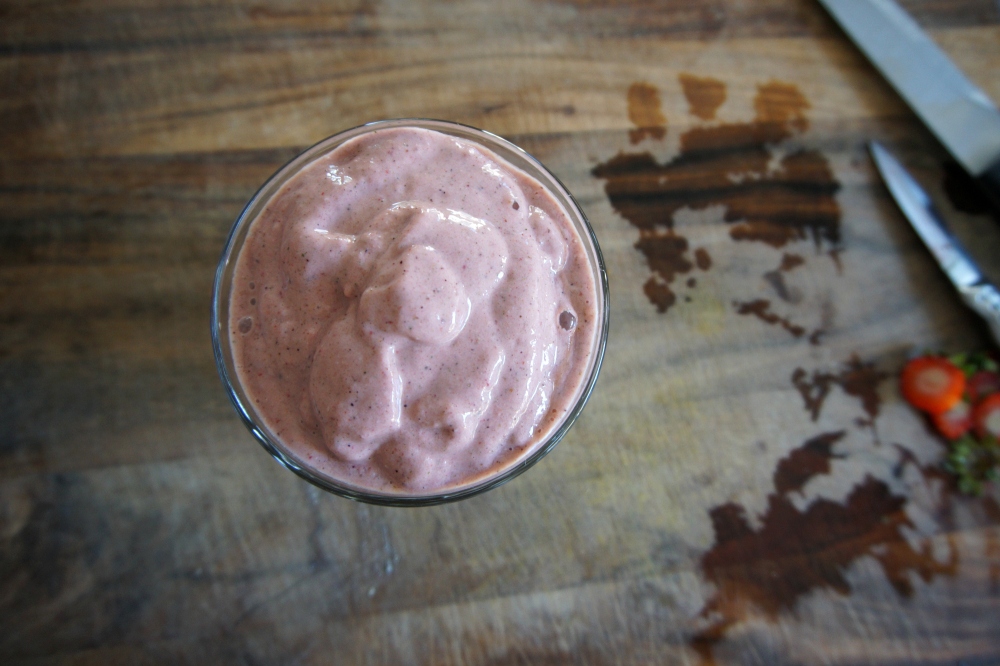
(Those strawberry tops were for my daughter’s breakfast – no chopping fruit this morning for my smoothie!)

I’d love to know, do you drink green smoothies? Do you find them a chore to make? Would you consider this freezer method of making them?

Berry Picking

A couple days after Christmas, my Mr, baby E and I went berry picking with some dear friends. We brought home two big ice cream containers full of boysenberries, bramble berries and raspberries, and ate as many as we could while we picked. Here are some photos.

We ate lots of berries in the next few days, but then I froze the rest so they wouldn’t spoil. Now I need to decide what to make with them. Here are some ideas:

This berry almond crumble from Simply Recipes looks delicious.

As does this raspberry sorbet from Creme de la Crumb.

Mmm… this triple berry summer buttercream bundt from Smitten Kitchen looks divine (I drool over everything she makes)!

Have you been berry picking this summer? What’s your favourite way to use berries?

Ricotta Cheesecake

I first found this recipe on Pinterest (follow me here) from the blog Diva Eats Italia. It looked so easy and delicious, and I had some ricotta cheese in the fridge that needed using, so I decided to give it a go. I adapted the recipe slightly based on my tastes and what I had in the cupboard.

ricotta cheesecake

Ingredients: 

  • 2 x 375g tubs of ricotta cheese
  • 1 Tbsp butter (room temperature, for greasing)
  • 1 Tbsp sugar (for coating pan)
  • 2 Tbsp almond meal (for coating pan)
  • 2 x 250g packets of cream cheese (room temperature)
  • 2 large eggs
  • 2 Tbsp fresh lemon juice
  • Zest of 1 lemon
  • 2 Tbsp almond meal
  • 2 tsp vanilla
  • 1/4 tsp salt

ricotta cheesecake

Method: 

  1. Place ricotta in a fine-mesh strainer over a bowl for 30 minutes to strain excess liquid.
  2. Preheat oven to 180°C and place racks in bottom third of oven.
  3. Grease bottom and sides of 23 cm springform pan with butter. Mix 1 Tbsp sugar with 2 Tbsp almond meal and sprinkle over pan to coat. Tap out the excess and set pan aside.
  4. Puree drained ricotta in food processor for 15 seconds or until smooth. Add cream cheese and puree until smooth.
  5. Add remaining ingredients and puree until smooth, about 1 minute.
  6. Scrape mixture into prepared pan and bake in oven for about 1 hour 20 minutes, or until just set.
  7. Transfer to a rack and let cool in pan for about 3 hours.
  8. Refrigerate overnight so cake can set completely.
  9. Enjoy with strawberries (and cream, if you like)!

ricotta cheesecake

The only problem with this cake is that you can’t eat it right away! Because I had to let it cool overnight to set, we couldn’t eat it last night for dessert. So I was naughty and had a slice for breakfast. I just couldn’t help myself!

ricotta cheesecake

Baby food.

We’re feeding our daughter a mixture of puréed/mashed foods and finger foods that she can feed herself.

image

I love baby led weaning (BLW) for many reasons. It teaches chewing before swallowing, which is supposed to minimises the risk of choking. It develops fine motor control. It teaches independence and autonomy. It grows self regulation and minimises overeating.

I like the purées because there is so much less mess! I often go through three changes of clothes a day when I let my girl feed herself (even when I use a fancy-plastic-catcher-bib!)

Some of Elsie’s favourite foods are lamb chops (she mainly just sucks the juice out of them), brocholi, mashed pumpkin and sweet potato, mashed banana mixed with avocado, chicken, and strawberries. She even likes curries! She tolerates Greek yoghurt – the face she makes when I give her the first spoonful is hilarious!

How do you feed your baby? What are their favourite foods?

Chocolate mousse cake.

This is the cake I made for my husband’s birthday. It’s decadent, without being too rich you can only have a sliver. Despite its impressive looks, it’s pretty easy to make. It’s gluten free (but has plenty of naughty ingredients like butter and dark chocolate). Make it, I dare you!

wpid-IMG_20140206_202029.jpg

I found the recipe while browsing on Pinterest, (here’s the link). It was written in Polish, and some things were translated strangely, such as:

Is composed of two parts – the lower, roast and the upper layer of gelatin forced labor. 

If the cake tin is not high, rather classical, then you should do the higher paper “collar” protruding above it (the dough very, very hard to grow, to then fall to the height of the springform pan). 

Ah google translate, you made me laugh!

Anyway, Sam loved it. We had a big slice last night, a little slice with breakfast (hehe!), and he’s taken some to work today. I’ll definitely be making this one again.

wpid-IMG_20140206_202214.jpg

I’ve written it out below so it’s easier for you to understand.

Base:

Ingredients:

  • 150 g butter
  • 150 g 70% dark chocolate, broken into small pieces
  • 5 large eggs, seperated
  • 1 tablespoon cocoa
  • 175 g caster sugar

Method:

  1. Preheat oven to 180°C and line sides and base of springform pan with baking paper.
  2. Melt butter in small saucepan over low heat. Add the chocolate and stir until melted.
  3. In a large bowl mix the eggs with the cocoa. Add the butter-chocolate mixture and stir well.
  4. Whisk egg whites with stand mixer until stiff peaks form.
  5. Gradually add the sugar, whisking constantly.
  6. Add the egg whites to the chocolate mixture in two batches, folding gently until combined.
  7. Pour mixture into prepared springform pan and bake for 25-30 minutes.
  8. Allow to cool in pan for at least 2 hours.
  9. The middle of the cake should sink, leaving raised sides. If it doesn’t sink after about an hour, gently cut into the cake about 2 cm from the pan all the way around, and gently push the centre of the cake down.

Filling:

Ingredients:

  • 100 g butter
  • 100 g 40% dark chocolate, broken into small pieces
  • 3 large eggs, separated
  • 2 teaspoons cocoa
  • 115 g castor sugar
  • 1 tablespoon hazlenut liqueur
  • 2 teaspoons powdered gelatin dissolved in 80 ml hot water

Method:

  1. Melt butter in small saucepan over low heat. Add the chocolate and stir until melted.
  2. In a large bowl mix the eggs with the cocoa. Add the butter-chocolate mixture and stir well.
  3. Add the dissolved gelatin and liqueur to the chocolate mixture and mix well.
  4. Whisk egg whites with stand mixer until stiff peaks form. Gradually add the sugar, whisking constantly.
  5. Add the egg whites to the chocolate mixture in two batches, folding gently until combined.
  6. Pour chocolate mousse into the pre-baked sunken cake. Cover and refrigerate for 4 hours or overnight.
  7. Garnish with shards of chocolate or berries (or birthday candles)!

IMG_20140207_101801Yum!

New and improved chocolate sourdough muffins.

I’ve been tweaking these muffins over the last few weeks , but now I think I’ve finally come up with the new and improved version. They’re so good, you can’t even tell they’re gluten-free. I made these with orange essence and rind, but if you don’t like the choc-orange flavour combination, just omit it.

There is a bit of preparation with these muffins in that you need an active sourdough starter to make them. Mine is fed with (mostly) brown rice flour. Sometimes I add buckwheat, quinoa, millet or sorghum flour too. See here for more info on how to make your own gluten-free sourdough starter. You also need to let the flours and yoghurt sit together overnight (or for a few hours at least) to get the natural yeasts going through the flours – that’s what makes them so fluffy!

imageIngredients: 

  • 1 cup active sourdough starter
  • 1 1/2 cups yoghurt 
  • 1 cup gluten-free flour blend
  • 1/2 cup coconut flour
  • 85 g rapadura
  • 250 g rice malt syrup
  • 100 g cocoa
  • 120 g olive oil
  • 130 g melted butter
  • 2 teaspoons vanilla extract
  • 2 teaspoons orange extract
  • rind of 1 orange
  • 1 teaspoon sea salt
  • 1 1/2 teaspoons baking soda
  • 4 eggs

Instructions: 

  1. Combine the sourdough starter, flours and yoghurt in a large bowl and leave overnight, or for at least a few hours.
  2. Preheat oven to 180°C and grease 2 12 hole cupcake trays.
  3. In a clean bowl, mix rapadura, rice malt syrup, butter, oil, extracts, rind, salt, baking soda and cocoa together. (I did this by hand).
  4. Add the eggs, one at a time, mixing well after each addition.
  5. Gently stir the chocolate mixture into the starter mixture and mix until smooth (or you can do this with a stand mixer if you like).
  6. Pour into cupcake pans and bake for about 20 minutes, or until a skewer comes out clean.
  7. Cool on wire racks completely before eating while still warm.
  8. These muffins can stay in a sealed container for a few days, but will need to go in the fridge if they’re left for more than about three. They also freeze well.


The HanMade Christmas gift guide!

I like making things, and I especially like making presents. And since there’s no better time of year than Christmas for giving presents, and since there’s only 19 sleeps till Christmas, I thought I’d share a few fun ideas for interesting Christmas gifts you can make.

1. Homemade ginger beer. I’ve been making this for over a year now, and last year I gave some finished ginger beer, as well as a ginger beer making kit as presents.

2. Homemade chocolates. I might try making some little chocolate balls this year. Maybe like these ones.

3. Photo magnets. I know they’re not technically home-made, but at least they’re personalised. I made some for myself a couple of months ago, but I reckon they’d make great gifts for certain people.

4. Coasters. I like these ones with maps, these fabric ones, and these crochet ones.

5. These sweet bath fizzies.

6. Fun and colourful animal bookends!

There’s just a few fun ideas for you. And now for something completely different:


Instead of getting wrapped up in the materialism of Christmas, why not give Really Useful Gifts. It’s crazy that Australians are expected to spend $8.5 billion on presents this Christmas. Probably half those presents will be wasted. Imagine if we spent half that money on chickens, or healthy mothers and families, or teacher training. Imagine all the good that could be done!

And could there really be more to Christmas than Santa and presents and getting together with family? I think so.


This morning’s green smoothie.

Recently I’ve been making green smoothies for breakfast. I find it hard to eat lots of greens, so this is a great way for me to get them into my diet. They’re quick and easy (especially if I bag and freeze my fruit and veg in portions for the week ahead).

imageMy recipe is this: 

  1. Just throw everything you’ve got into your blender and mix until smooth.

Today’s smoothie included: 

  • 1 banana
  • 1 avocado
  • 1/4 of a cucumber
  • 2 stalks of celery
  • 2 florets of broccoli
  • a cup of natural yoghurt
  • a small knob of ginger
  • a small knob of turmeric
  • a teaspoon of cinnamon
  • 2 tablespoons chia seeds
  • a small handful of walnuts
  • a slice of pineapple
  • a slice of pawpaw
  • 8 leaves of kale

Do you eat green smoothies? What do you include?

Chocolate sourdough muffins.

IMG_20131011_173355

I made these muffins a week ago and really liked them except for one thing. I substituted coconut oil for olive. But it was much too strong. So now I’ve put back the olive oil, which makes a big improvement. I also didn’t use any orange flavour, but that was just because I didn’t have any oranges! I think it would taste nice (I love jaffa lollies). I iced them with my favourite icing and they were yum.

Ingredients:

  • 1 cup active sourdough starter
  • 1 cup milk
  • 1 cup gluten free flour blend
  • 1/2 cup coconut flour
  • 1 cup rapadura
  • 1/2 cup rice malt syrup or honey
  • 1/2 cup olive oil
  • 1/2 cup melted butter
  • 2 teaspoons vanilla extract
  • 1 teaspoon sea salt
  • 1 1/2 teaspoons baking soda
  • 1 cup cocoa
  • 4 eggs

Instructions:

  1. Combine the sourdough starter, flour and milk in a large bowl and leave overnight.
  2. Preheat oven to 180°C and grease 2 12 hole cupcake trays.
  3. In a clean bowl, mix rapadura, rice malt syrup, butter/oil, extract, salt, baking soda and cocoa together. (I did this by hand).
  4. Add the eggs, one at a time, mixing well after each addition.
  5. Gently stir the chocolate mixture into the starter mixture until smooth.
  6. Pour into cupcake pans and bake for about 20 minutes, or until a skewer comes out clean.
  7. Cool on wire racks completely before icing with the best icing ever!


My favourite icing.

I love baking cupcakes. I think the best kinds of cupcakes are frosted ones. I’m not a real fan of normal buttercream icing, but I found this recipe and thought I’d try it. I changed the method a bit, cause the first time I made it the mixture separated. The surprise ingredient is flour (although I swapped this for a gluten-free alternative).

Ingredients: 

  • 1 cup milk
  • 2/3 cup castor sugar
  • 1/4 cup arrowroot (they used flour, but I wanted gluten-free)
  • 1 tablespoon vanilla
  • 3/4 cup butter, softened and cut into cubes

Instructions: 

  1. In a saucepan, combine 1/4 cup of milk, arrowroot and vanilla and whisk to form a thick paste.
  2. Over medium heat, slowly add the remaining milk while whisking constantly, until the mixture comes to a boil.
  3. Reduce heat to low and continue whisking until the mixture starts to thicken slightly.
  4. Remove the pan from heat and keep whisking. I had to swap the whisk for a spatula as it got so thick.
  5. Let the mixture cool to room temperature.
  6. In stand mixer with paddle, cream the butter and sugar together until light and fluffy, and there is no graininess left.
  7. Add the completely cooled milk mixture and beat until it is fully combined and looks like whipped cream.
  8. Spread onto cupcakes, and sprinkle (or dip into) sprinkles.

IMG_20130927_175634 2That’s it! I think it’s the best icing ever. You should try it.